My ingredients and process are simple, but so far the results have been tasty - if not entirely stable. But I'll get to that later - see the pictures below!
What I've been using for my sushi is Dainty brand "Gem" long-grain rice, a small steel pot, tap water, a carrot, some cucumber/avocado, sardines, mayonnaise, cream cheese, horse radish, and a special sushi rice sauce. What's missing from this list, though, is seaweed.
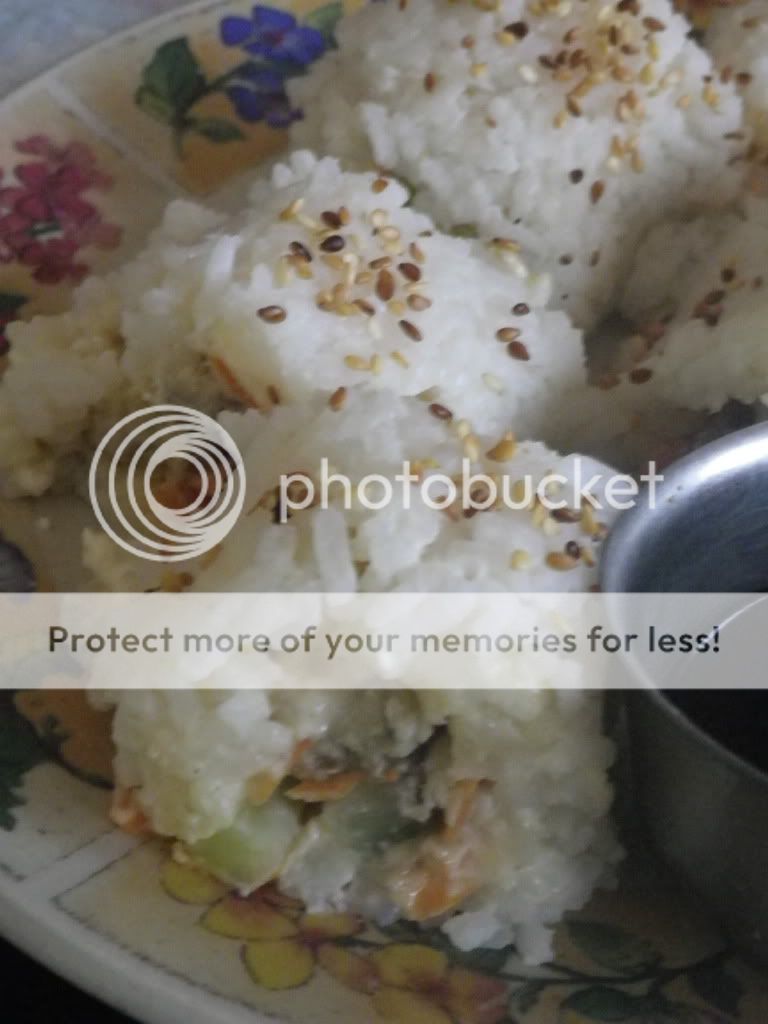
One thing that I've learned from my attempts to this point is that this wonderful plant pounded into flat sheets is essential for the amateur sushi smith. Without them the rice needs to be moist enough to stick to itself, and the sushi smith needs patience enough to clean that sticky rice from his sushi mat. I have yet to perfect the moisture of my rice, but I have had it moist enough to make a simple roll that looks like this:
So, what's my process?
First, the sushi rice sauce. Find a small container - preferably something that can go onto a stove top burner - and a tablespoon. Pull down some vinegar, sugar, and (sea) salt. Add one tablespoon of vinegar, one teaspoon of sugar, and a pinch of salt into the chosen container. Mix these three together until there are no (or nearly no) sugar/salt crystals left. If your container can go on a burner put it on and put the heat to "Low." The heat will help to melt the sugar and usually creates a much more consistent sauce. It may wind up a little viscous, but that's nothing to worry about.
The rice comes next. Put a 1/3 cup of rice into a small pot. Add enough water to the pot so that the space between the top of the rice (laying flat on the pot's bottom) and the surface of the water is about 1/2 inch. Put the pot on a burner and turn that burner to its highest setting. Watch the rice intently - don't worry, the pot will boil.
Once the pot has either begun to froth up or boil furiously and loudly turn the heat down to "Low" or a setting of "1." If you feel it necessary, tip the pot lid slightly to provide space for the steam to escape through. Wait 15 minutes.
At this point open up the pot and check for any visible water. If there's none then pull the pot off the stove and set it aside to cool. Otherwise, put the lid back on and let the rice steam for another minute or two. Pots with clear lids are excellent for this, since, even if obscured by steam and loose foam, it's usually easier to see through them to the rice within than other, more opaque pot lids.
Add the sushi rice sauce to the rice while it is still hot. Fluff the rice so that the sauce gets spread evenly throughout it.
While the rice is cooling grab the mayonnaise (or sour cream if you want more richness and less tang) and cream cheese. Find a container (maybe the same used for the sauce). Mix the two in a ratio of 1 part mayonnaise to 2 parts cream cheese in your container. Once your mix has a generally smooth consistency it's ready.
The rice might still be cooling, so use this time to chop up your vegetables. Cut them into long, thin slices. Carrots should be cut into two inch pieces and then in half them lengthwise and cut the halves into strips.
Cucumbers should first be cut width wise (cutting off the ends is alright) and then stood up on their newly flattened ends. In this position, make vertical cuts down the length of the cucumber. Follow these cuts with horizontal ones in the same fashion.
If you're fortunate enough to have an avocado that you want to use then open it up, remove the pit, and slice the halves lengthwise. Pull out the glorious richness with a spoon and keep it at the ready.
By now the rice ought to have cooled. So throw down your sushi mat and then lay a bed of rice upon it. Leave a border of about an inch all around this bed.
Before going any further, double check that your mat will roll up and away from you. It's tragic to have loaded your roll only to find that you'll be rolling against your sushi fillings. Once you've made sure that your mat will roll up and away from you, spread your mayo/cream cheese mix onto one half of the bed. Spread horseradish over the mix. Finally, lay down your vegetables and fish so that their length runs from left to right.
Add some sesame seeds if you like.
Then, mustering all of the hope in your ability that you can, roll the bottom of your mat forward. Hold it there. And, while keeping the bottom in place, roll the top of your mat down so that you drive the top wave of rice over and onto the bottom. Use your mat to press the two sides of your roll together. And - release.
If you can, transfer your roll to a plate before cutting it into smaller pieces. Doing so will leave your mat clear of much of the rice debris and thus easier to clean.
Pour some soy sauce into a wee bowl if that's your thing, and, enjoy! It might fall apart in transit to the plate, or if left for too long, but you just made yourself a pseudo-sushi roll! Indeed, this is a tasty - and continuous - lesson!
Do you have your own experiences making a favourite food not easily found where you live? Or maybe just a recipes or food idea that you want to share? Any good or groan worthy sushi-related puns? Feel free to carry on a discussion in the comments.
No comments:
Post a Comment